![]()
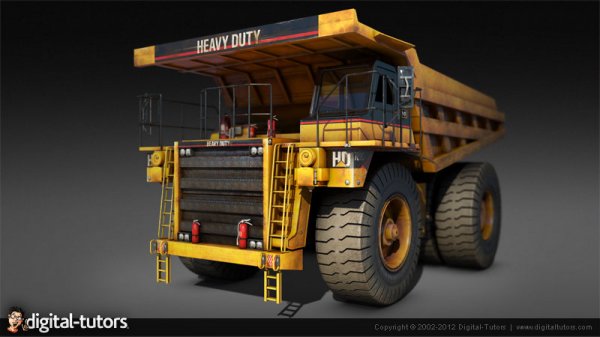
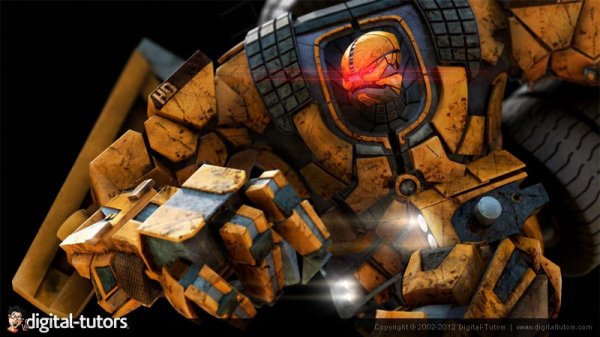
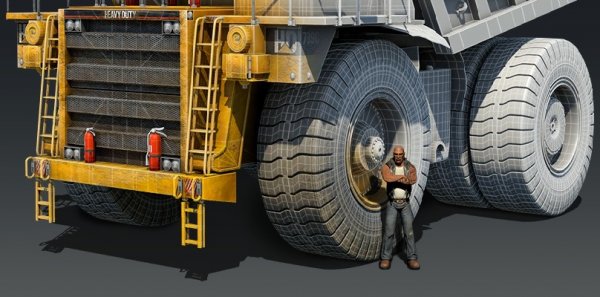
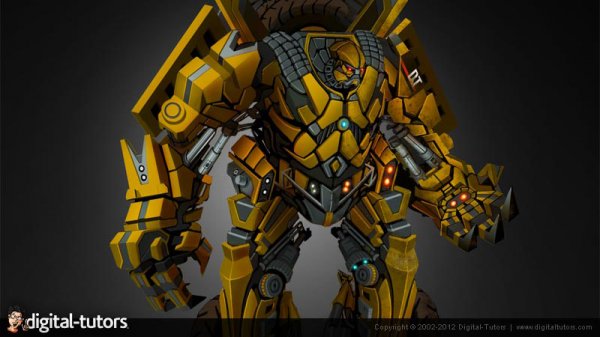
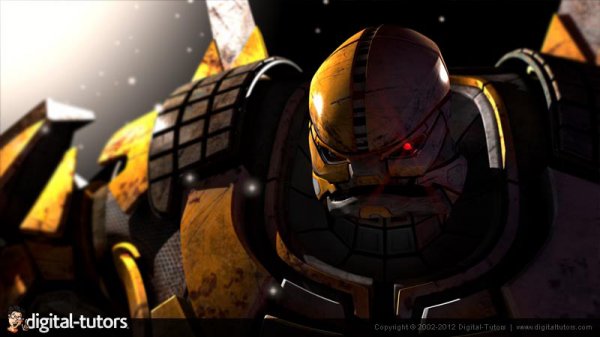
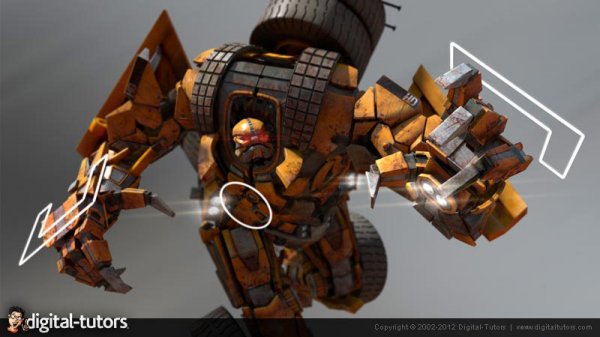
Digital Tutors - Transforming Robot Production Pipeline Volume 3 - Truck Texturing
1 hrs. 32 min. | March 1, 2012 | MARI 1.4v2 | Author: Eddie Russell
در قسمت سوم از این سری آموزشی ، می خواهیم نحوه ی تکسچرینگ کامیونی را که در قسمت دوم این سری آموزشی ساختیم به شما آموزش دهیم.
برای شروع آموزش ، شما باید بدانید که این آموزش برای افراد سطح بالا تدارک دیده شده است ، و ما تک تک قسمت های کامیون را برای شما تکسچر نخواهیم کرد ، بلکه تکنیک ها و ابزار های بکار رفته در آن را برای شما بازگو خواهیم کرد.در این آموزش ما شما را با نحوه ی تکسچر پینتینگ بر روی اجسام بسیار پیچیده با استفاده از نورها ، ماسک ، و ... آشنا خواهیم کرد ، همچنین به شما نحوه ی کار با لایه های پینتینگ نرم افزار ماری نسخه ی 1.4 را خواهیم آموخت.بعد از اتمام این آموزش شما یک درک عمیق از نحوه ی تکسچرینگ اجسام بسیار پیچیده خواهید داشت.
مشاهده توضیحاتــ انگلیسی
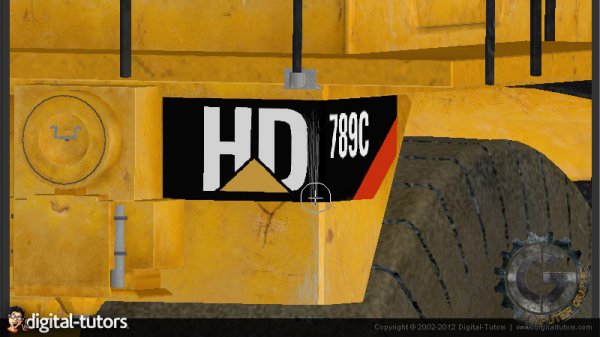
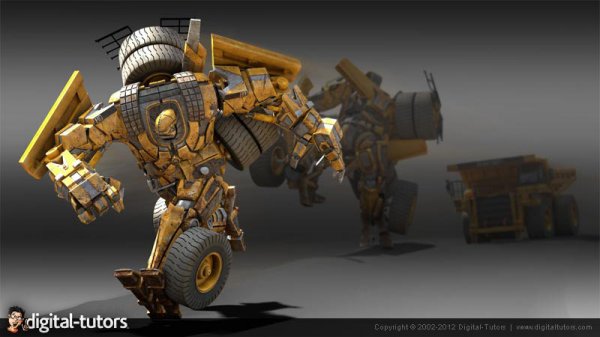
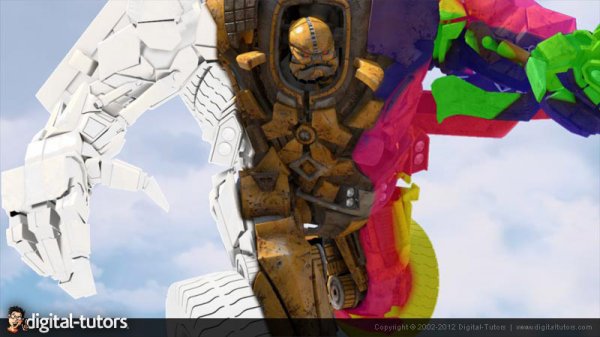
In this tutorial we will learn about the process of texturing our transforming robot's vehicle form. To get started, you should know that this course will focus on providing you with a high level glimpse at my thought process in painting the textures for our truck asset. While we won't focus on painting every stroke of our textures, I will be walking you through each step, demonstrating techniques as well as providing insight into the process. Throughout this course, we will reveal valuable information about this process including targeting geometry for painting on a complex model, using lights and masking to paint texture in hard to reach places, and using MARI 1.4's layered painting unproject and project workflow to create decals for our vehicle. After completing this course, you'll not only know how the texture maps for our truck were painted but you'll also gain insight into the thought process behind painting them.

